
What you'll need-
ring blank with a flat pad (I got mine here)
cover button kit (I used 3/4" for the yellow, green & blue, 1" for the elephant; I get mine at JoAnn's)
scrap of fabric
hot glue gun & glue


Now, go forth and make 1... or 4!


 Whipped up this darling Easter basket, from a paper grocery sack, with the help of this tutorial. I made mine bigger than the tutorial (8x8 bottom and 4 strips around the sides) to fit a few more eggs.
 An action shot.
 Mostly she just wanted to eat the candy.
 Hope you all had a Happy Easter.
 Remember when I won this awesome prize? Well I finally finished my table runner. Actually I had the table runner done that first weekend after I got my fabric, but I wanted to add some trim to finish it off, and then family came into town, things got busy and only just had the to finish it yesterday.
 Close up on the trim. I love how it turned out and love how it looks on my dresser (I'm hoping it will help motivate me to keep my dresser clean- we'll see). If you want to make one here is the tutorial. I only did a couple things different- for the ruffles, instead of folding the fabric in half I hemmed the edge, my machine just couldn't handle the bulk of ruffling the fabric double layered. And I added the trim.
 This tutorial for fabric eggs has been on my to-do list for ages, and I can't figure out why I waited so long to make them. They weren't hard and came together pretty quickly (except that I didn't have any fiber-fil, not having all my supplies seems to be a reoccurring theme for me).
 I think they are cute, but I can't decide if they look like eggs. What do you think? If I make more I think it would be cool to make them monochromatic, but still scrappy, ie. 4 different green fabrics for one egg.
 A lovely package was delivered to my door this morning, loaded with sewing lovelies. My friend Erin recently co-launched a creative blog, PurdueAvenue. And a couple weeks ago they had a giveaway, and well, I won!
 The prize included everything to make a darling ruffled table runner (tutorial here)- canvas and muslin fabric, thread, pins, a measuring tape and...
 a ruffler foot! I didn't even know that such a thing existed! I'm pretty excited and want to ruffling everything!
 First up on my ruffling check list is a replica of this table runner. Head over and check out the fabulous things on PurdueAvenue.
 First items on the docket was a baby gift set for a lovely friend of mine. Her little one is due to arrive in just a few days and I wanted to be certain that these were done in time.
 This bib was a lot of work, but I loved doing it. The ironic thing is I pieced those zig-zags and then a few days later bought fabric that looks almost exactly the same! But I won't call it wasted time, just an exercise in micro-piecing.
 I used burp rags more than anything else when Kennedy was born and recently I found this pattern and I really wanted to try it out. I love that it is contoured. Both burp rags and bib are back in white flannel.
 Oh, and I'm in love with these little elephants, they are so adorable.
 After they were all sewn together I creased the the hearts along the seam for a little dimension and that was it! Fun and simple. So while I was at it I listed one into the Etsy shop too. Maybe you'd like one too, after all it is 100 feet of Jane Austen love.
 Dear Ms Austen- please don't be upset that I cut up your book, I promise it was for a real good cause. Don't think of it as destrying think of it as upcycling!
 Before Christmas a gal contacted me about making a table runner for her. She had bought a set of my Suburbia hot pads and wanted a table runner to match. She told me that the set would be for her daughter's 2nd birthday (she is getting a play kitchen). Which I think is a darling idea- must remember for Kennedy.
 Luckily she didn't need it before Christmas, which would have been impossible, but I started on it the week I got home from vacation, and here is the final project. The 45 degree corners were a new and troublesome endeavor for me. But in the end I like how it turned out, especially those Ruby scallops for the binding.

 Image via: Craftiness is Not Optional
 I made this drawstring pouch for my sister for Christmas, I was inspired by this one.
 I had a lot of fun with this wee little bag, I think because it combined so many different elements but didn't take me so long that I got sick of it. Plus it's grey and yellow which is my current favorite color combination.
 Adding the drawstring was the most challenging part for me, a challenge that I didn't quite overcome, thus there is only string on one side of the bag.
 I also made a guitar strap for my brother in law, although to be perfectly honest I really recovered a guitar strap. I had known that I wanted to make him one for a while and then I happened upon this fabric and knew that it must be. Because you see, he is partial to the color orange and has a thing for rockets.
 My search for a guitar strap tutorial didn't lead me to exactly what I wanted to do, so in the end I had to wing it. And honestly it wasn't hard. In fact the hardest part was taking the original strap apart, oh and turning that long thin tube of fabric so that the right sides were out. If people are interested maybe I'll try to write a tutorial sometime.
 I personalized it just a little more by embroidering his name on it. Giving handmade gifts is my favorite part of Christmas, I hope the recipients don't mind too much!
 I've been considering making an oven mitt for a while now, and finally decided to take the plunge, as a Christmas gift for a friend. I loved doing the patchwork and the quilting. I used the pattern piece that is on the Insul-Bright wrapper. I think it turned out cute, but it is a bit small (even after I enlarged the pattern). Also if I make another I'll change how I do the binding, because sewing this one on was not fun.
 I used a collection of Christmas-y fabrics that I have on hand. Unfortunately I don't know the names of any of them.
 I made this hot pad to match too. I love doing embroidery and I think this tree is quite charming.
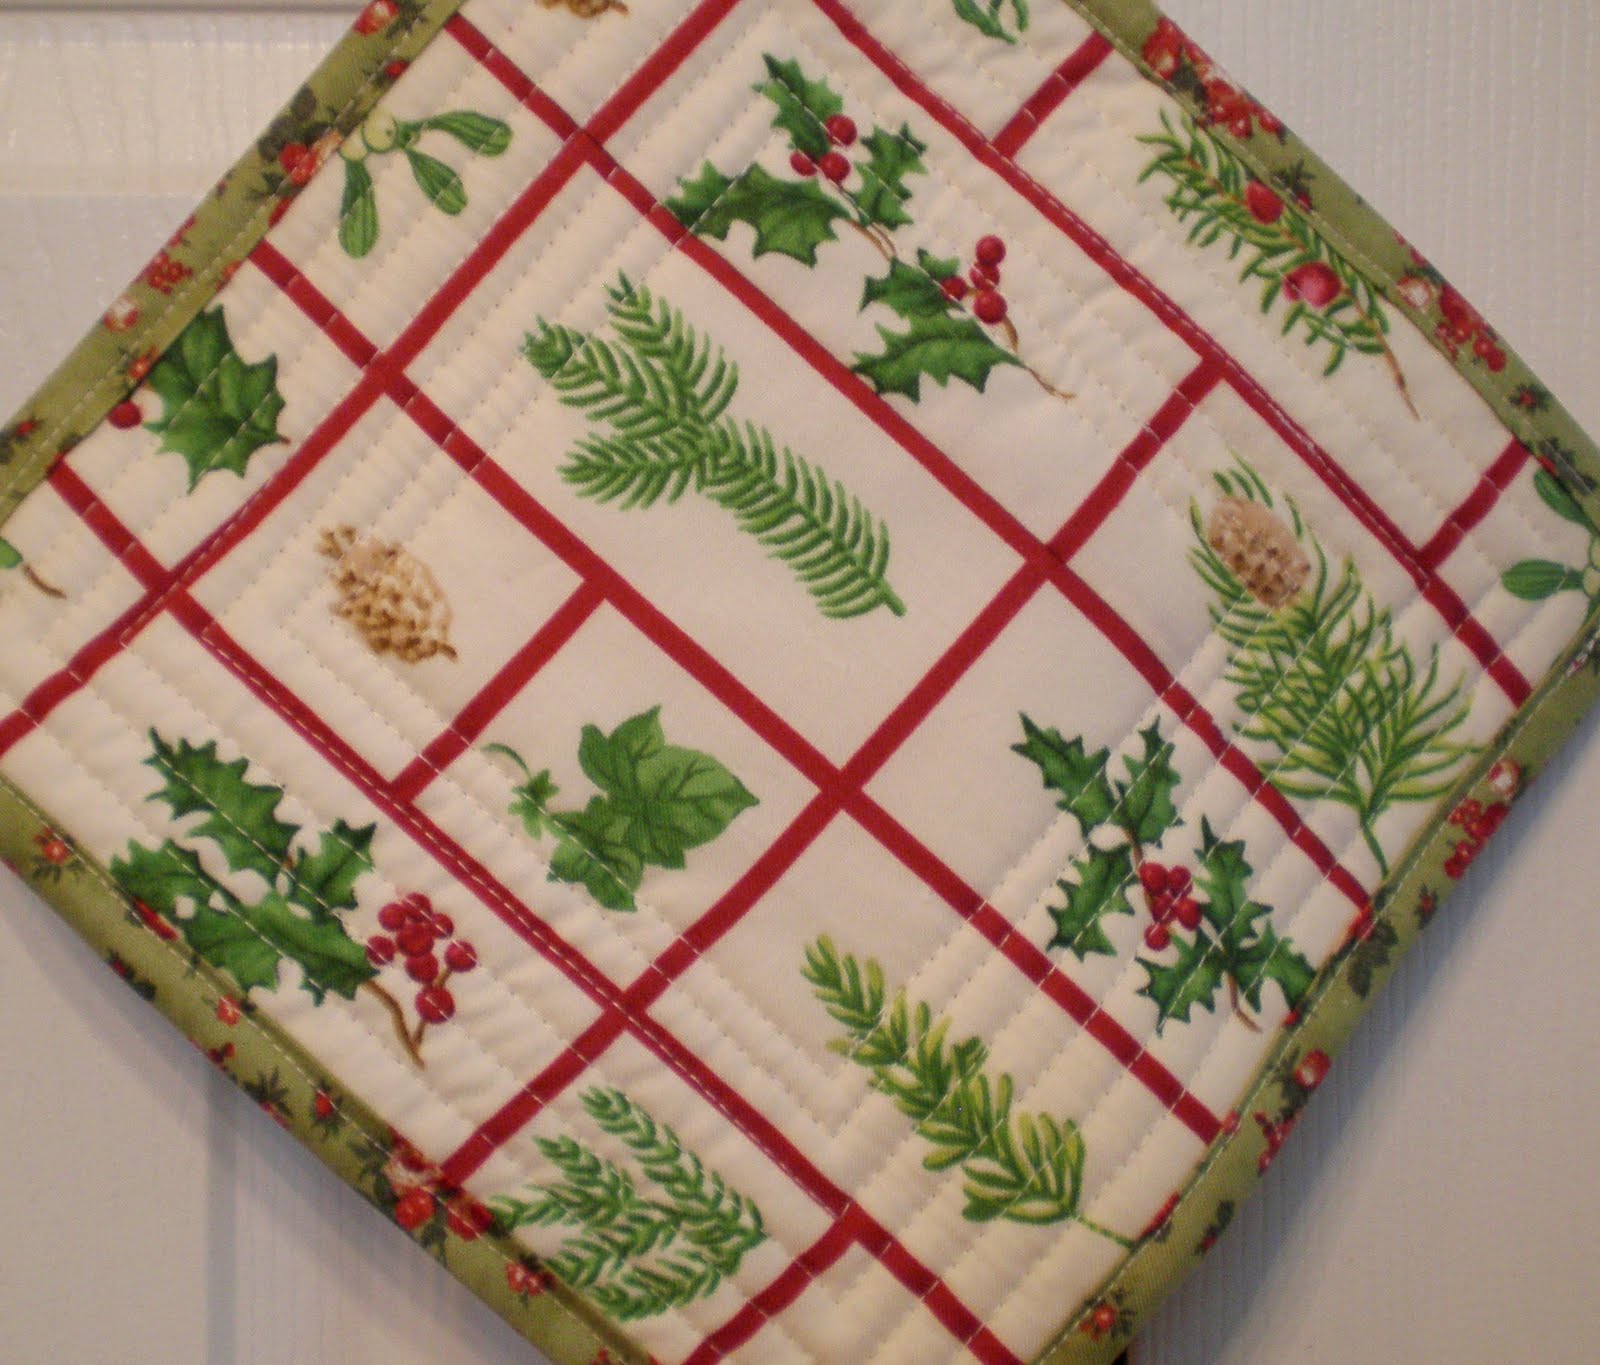 The back of the hot pad (I used this fabric as the lining for the mitt too).
 Saturday afternoon brought an exciting package to my box. It was from This Crafty Fox and contained this lovely pillow cover and 2 matching hot pads. Part of the reason I was excited was because I've actually been able to get to know This Crafty Fox (we've shared a few e-mails about running) and then to get a package from her, so fun!
 Here is one of the hot pads, which were both quickly put to good use for our Sunday dinner with friends. This was my first true swap and I am so glad that I did it. Thanks again partner.
 This is the whole of it.
 I sent one of my fabric bunting cards with a little holiday note.
 My partner was The Plaid Scottie (I know! a bit intimidating for me!), so I decided to make her a selvage ornament Scottie! I don't mean to have a big head, but I love how he turned out. I also sent a couple of plaid napkins but forget to take a picture of them.
 I couldn't resist including a fortune cookie tag, although I'm sure I'll get docked points somewhere for the use of a card and a tag for the same gift.
 A back shot of the tree pants, with three covered buttons for closure.
 Here you can see the backing fabric along with delicious White Chocolate Cherry Shortbread Cookies.
 And finally a little personalization on the back.

