Saturday, October 22, 2011

Trick-or-Treat Bag Tutorial

This year I wanted to make Kennedy a Trick-or-Treat bag with cute Halloween fabrics. I looked everywhere for a tutorial that I liked, and just couldn't find one that matched the image in my head. So I decided to make up my own and share it with you. The techniques are not original, but I'll share my process in case anyone is interested. You have a week until the little ghosts and gobblins start running, but you won't need that much time this bag will wip up in a couple hours.
What you’ll need:
A selection of Halloween fabric scraps that are at least 7” long
(1) 7” x 9” piece of coordinating fabric for the base of the bag
(1) 9” x 20” piece of fabric for the liner
(1) 9” x 20” piece of interfacing, I would use medium to heavy interfacing (mine was not an iron on but you can use one, personal preference)
(1) 2 ½” x 12” piece of fabric for the handle
(1) ¾” x 12” piece of interfacing for the handle

1- Cut out strips-
Each strip should be 1 ½ - 3 ½” x 7”
Cut enough strips to make a (2) 9” x 7” rectangles, including ¼” seams
If you choose not to make a scrappy bag then cut (2) pieces of fabric that are 7” x9”

2- Sew strips together- use a ¼” seam.
You’ll end up with (2) sides 7” x 9”, you may need to trim your rectangles to get the right size.

3- Sew striped sides to base- your new piece should be 9” x 20” and will be the outside of your bag. Iron all your seams.
4- Layer outside piece and 9” x 20” interfacing.
Top stitch along the edge of the base fabric on both sides. This will help hold the fabric and interfacing together for the next step, but you may also want to use some pins around the edges.

5- Fold in half, right sides together and sew along both sides.
6- The next step is to gusset the corners. I’m not a gusseting expert so I’m not going to make a fool of myself trying to explain it. If you need instructions try this link. I used a 2" gusset on both corners.
7- Repeat steps 5 & 6 with the liner fabric.
Just be sure to leave a gap along one of the sides in which to turn the bag through, and be certain to leave the gap well above where you will be gusseting the corner.
8- Now for the handle-
Take your handle fabric piece and fold in half length wise, right sides together. Sew along the length.
Turn and iron open with the seam down the center.

Now thread the interfacing through the fabric tube, using a safety pin helps here.
Top stitch along the length of both sides.
9- Putting the bag together-
First, take your outside/interfacing piece that is still right sides together, place your handle inside and pin right sides to the right side of the outside fabric. (You’ll want the seam of the handle facing up).
Second, layer in the lining so that it is right side to the right side of your outside fabric and the handle is in between. You won’t be able to push the liner all the way down because the handle will be in the way.
Match up side seams and pin around bag opening.
10- Sew around the opening. Then turn the whole bag through the gap you left in the liner.

11- Once you have your whole bag turned top stitch the top edge, you may want to pin it hold fabrics in place.
12- Finally sew up the gap in your liner by hand or machine and you’re done! Fill with tricks, treats or both! (Finished dimensions: 4 1/2" wide x 8" high)

Happy Halloween!

And I'm linking up here:


Monday, October 17, 2011

Autumn Door

Halloween decorations are popping up all over the neighborhood. I visited a couple friends this week and it looks as if Halloween has exploded all over their homes! (I mean that in the best and cutest way possible). And all of this Halloween festiveness has made me realize that I am woefully lacking in the spooky decor department. I also came to the conclusion that Halloween decorations just don't do it for me. I love the costumes, carving pumpkins, the candy and trick-or-treating. I just don't love decorating for it. Autumn on the other had I can do.
So despite the fact that it is supposed to be 100 degrees here today and it looks and feels nothing like fall, I made a fall wreath. I was inspired by a wreath that I saw on Pinterest but unfortunately the link doesn't work so I don't know who to attribute the inspiration to.
I love grey in every shade (it's my new black) and paired with this rusty orange and deep plum I'm sure autumn, in all her glory will want to come to my door.
And so I say Welcome Fall!

Celebrate Color
I'm linking up here, and with all this lovely color saturation, you'll likely be seeing more fall crafts around here.

Tuesday, October 11, 2011

A Winner

Thanks everyone for your input and help. The general consensus was that I should do hot pads, which is awesome because that is what I was leaning towards. A close second was the pouches, so I'll probably try to do some of those too. And now for the winner:


Congrats to commenter #6, Chicky! I'll be getting your prize to you soon.


Thanks again everyone for your help.

Monday, October 3, 2011

Help Needed and an Incentive

The holidays are quickly approaching and I'm shifting my crafting mo-jo into full gear. This year I am planning to either participate in or host my own Holiday House/Handmade Boutique. At this point I'm planning to sell some things from the shop and a few new things. Including ornaments (like this and this), Santa Mug Rugs, and Christmas cards in this style. I'd like to make one or two more items to sell and I need your opinion.

If you were going to a Handmade Boutique to stock up on some goodies for the holidays what would you be most interested in buying?
Some possibilities that I've thought of are:

hot pads,
baby bibs, pouches or hair clip flowers.


Now for the incentive- I'll be giving away one of my selvage ornaments and 3 fat quarters of Going Coastal fabric. The crabs just didn't quite fit into the project I'm working on with the rest of my Going Coastal, but I'm hoping they'll be perfect for someone else.


To be entered for the giveaway:


Comment with your suggestion for the handmade boutique. One comment per person, and be sure that there is a way for me to contact you if you win.
And if you want to follow me here on the blog

or on Facebook

or even on Pinterest

that would be awesome!

The giveaway is open to anyone and everyone and ends Monday October 10, 2011.

Thanks for your help.

Tuesday, September 27, 2011

Baking Sampler

I have a group of friends who like to bake. And they like to try out new recipe books. Every couple months they get together to do a Baking Sampler Day. They invited me to join them and we've had a lot of fun trying different recipes like Martha's cupcakes and Magnolia's sweet goodness.This month we're making 6 inch cakes from Miette, a bakery in San Francisco. And I'm hosting the fun. I wanted to make these great friends a little something to take home with them to use in their future baking endeavors. Thus these hot pads were born.
I made 7 (there are only 6 of us, but I wanted there to be an extra option for the ladies to choose from). Each hot pad is ~ 8 3/4" square. Fabrics used: Suburbia (kitchen items), Bliss (red and aqua dots), It's a Hoot (pink w/grey trees), Sweetwater (grey w/white flowers, Grand Revival (green dots) and Be Merry (stripes). I also used Insul-Bright for the batting.
The backs are all the Suburbia fabric which was the focal fabric in this whole project. I saw this fabric and knew exactly what I wanted to do. Now I'm wishing I would have purchased enough to make myself an apron.
This one is my favorite. I just love the tiny patchwork squares.
Fresh Poppy Design

Friday, September 16, 2011

Back to Life, Back to Reality

After spending 2 incredible weeks on the Colorado river in the Grand Canyon last month I've been slow getting back into the swing of regular life. But slowly my brain is starting to work again, and that generally translates into creating.
This fun banner is for a friend whose little guy will be 1 next month. I picked out colors to match his birthday shirt and can't wait to see how the whole ensemble comes together.
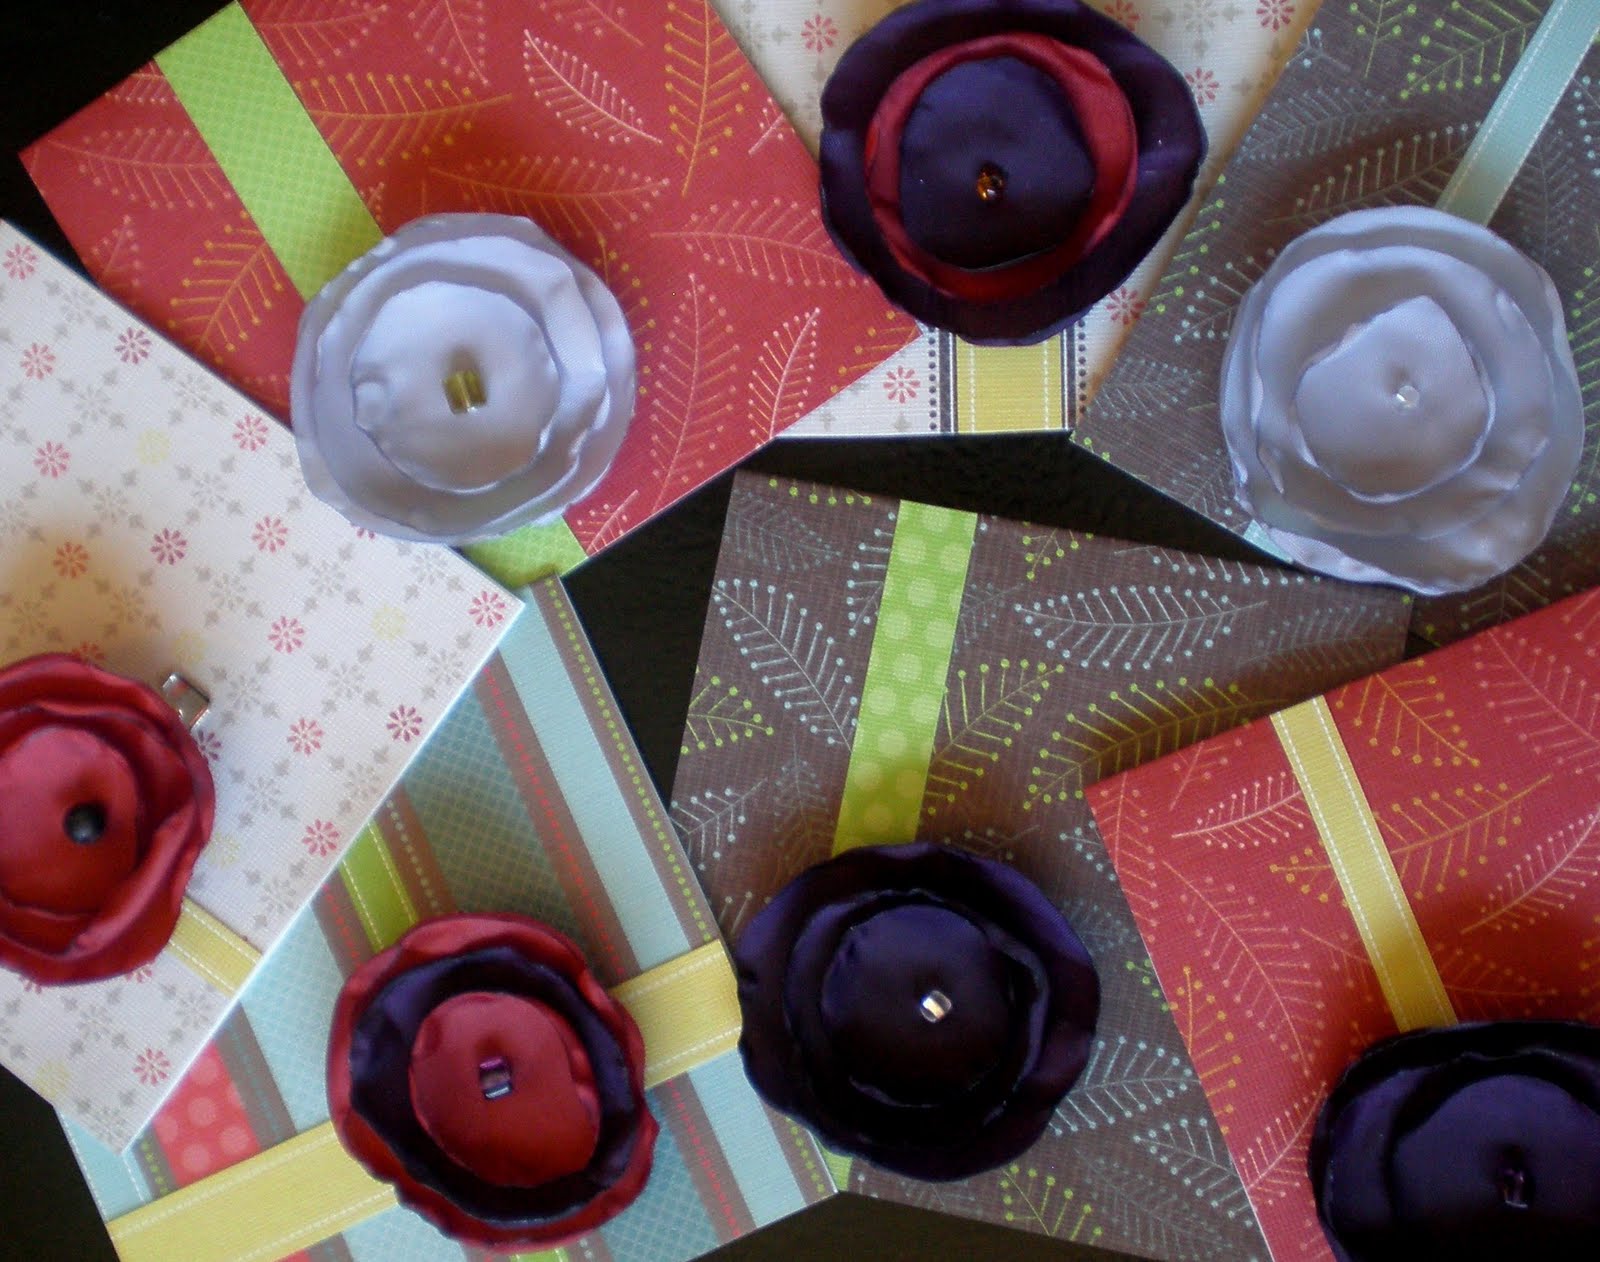
These cards and removable flower clips will be my contribution to card group next week. I loved making the flowers and now I'm trying to think of as many different ways to utilize them as I can.
And this gorgeous collection of fabrics arrived in my mail box a last week. I've been admiring Going Coastal since the spring when everyone had pictures of it from quilt market. I can't wait to dive into them.

Friday, August 5, 2011

Cathedral Window Doll Quilt

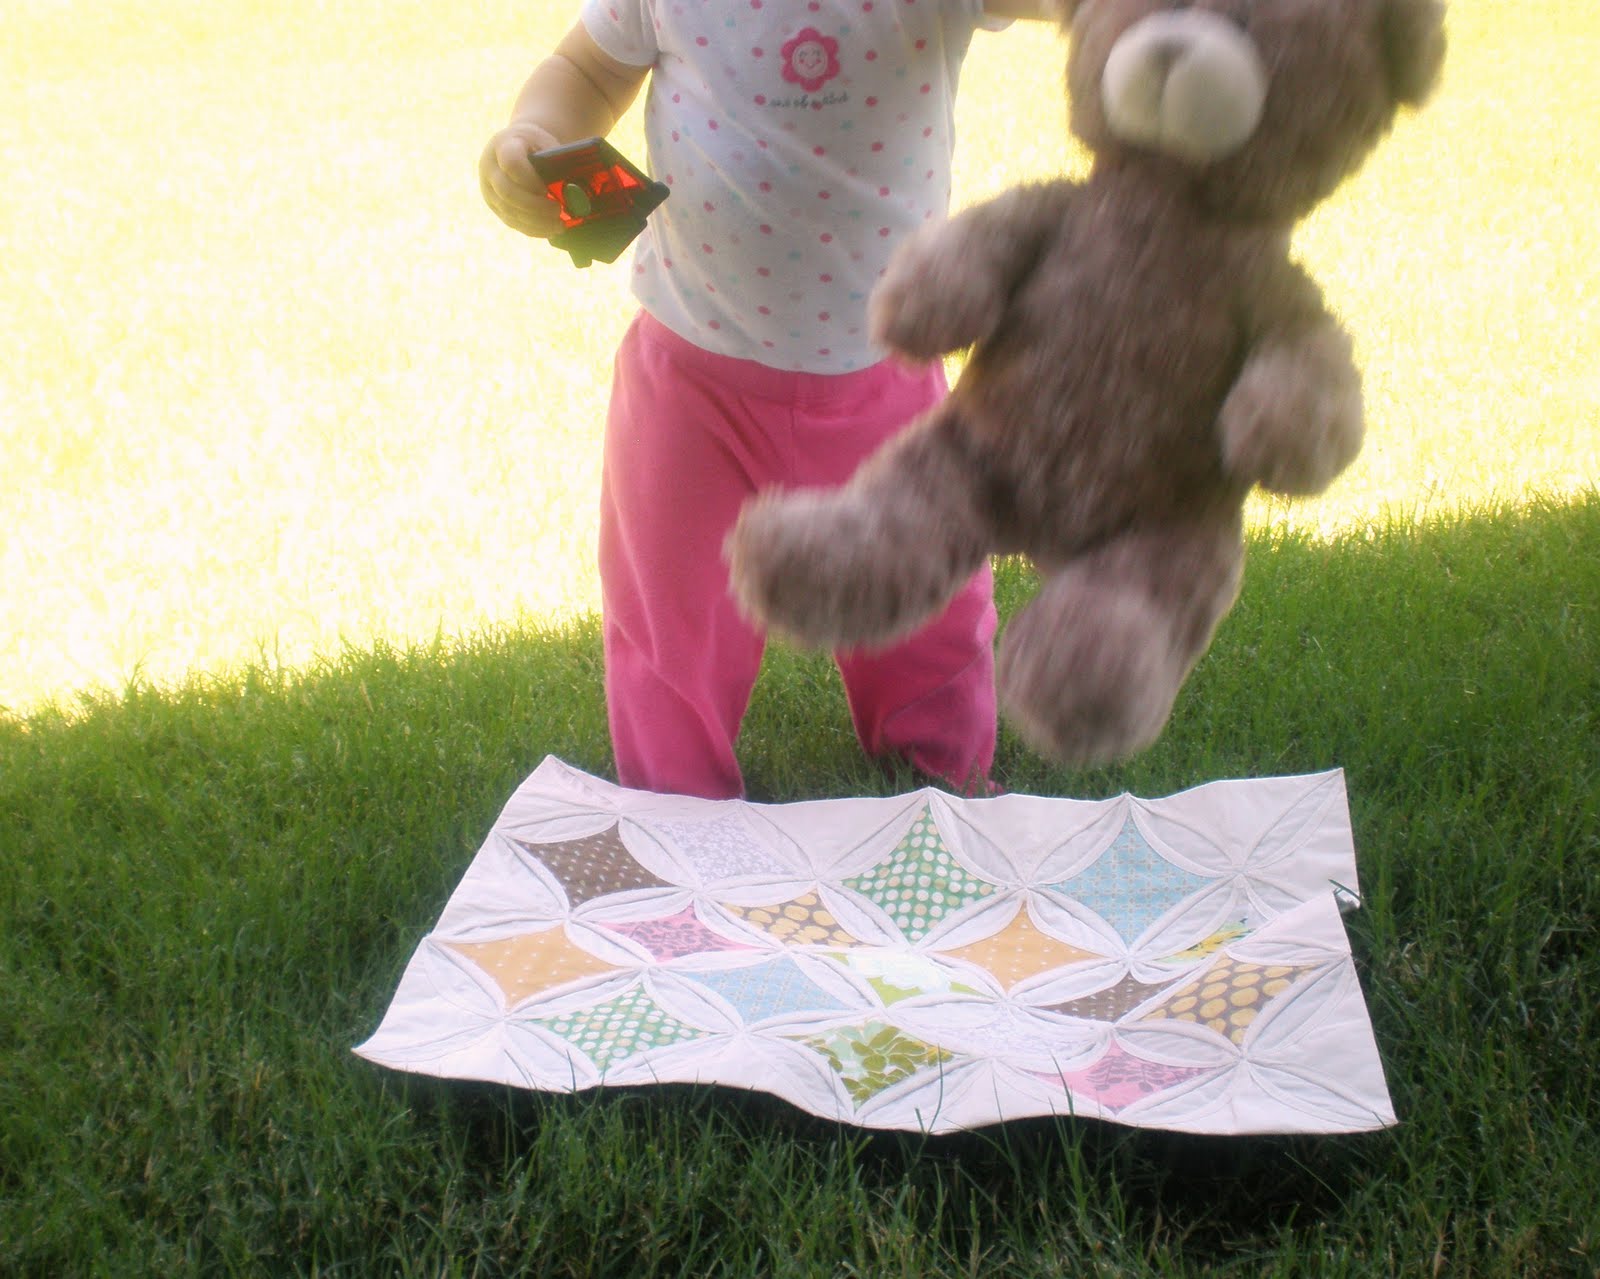
Actually there aren't any dolls in our house, partially because I think dolls are a bit creepy and partially because I think pure chance. But we do have lots of squishy cuddly animals. So for now it is a bear quilt, 14 x 18.5". To make it I relied heavily on this tutorial and this tutorial. And I have to admit that I LOVE making cathedral windows! I love the piecing, the origami, the small curved stitching and I think they turn out looking so classy.
I do not however love this quilt. Mostly because I don't like the back. I don't like how you can see that the blocks are zig-zagged together, or that the light fabric shows off every miss-stitch. And then I thought ok, I'll wash it and hopefully I'll like it better (this often happens for me), but no. Washing it ruined all those lovely crisp origami folds (I did some serious ironing to get it to look half way decent for the pictures).*
In short, I would love to make more cathedral window quilts, but I think I will have to make them as wall quilts- so no one can see the back and they don't have to be washed very often. Also I will probably try a different solid fabric (the Egyptian cotton that I used was hard to work with).
*My dislike of this quilt in no way reflects the tutorials that I used. Both were very well written and so helpful as I was working my way through an new technique. And here we have the annihilation of a photo shoot.
I probably would have had better luck during nap time.
Sorry about the glaring sunlight.
And there is the back.
Eventually discarded for the flowers.
Another one
bites the dust.


Follow Me on Pinterest